This is not so much a Tips & Tricks as it is a reminder to use some of the techniques (and products) that may have ended up on a shelf somewhere...I haven't used my chalks in ages!
I love lavender, the scent is so soothing, and Dandelion Dreams has a couple of stamps that have been calling out to me for a while now...
First, get out your chalk, Versamark pad, daubers and stamp set:
Stamp your image with Versarmark and use the daubers to apply the chalk:
And here's the finished product:
Too simple? I hope this gets you to pull out some forgotten product to play with...thanks for stopping by!
Showing posts with label Tips and Tricks. Show all posts
Thursday, August 25, 2011
Thursday, June 16, 2011
Tips and Tricks - Heat Embossing on Metal
Hi there! It's Barb and time for another Tips and Tricks Thursday with Skipping Stones Design. A while back I did some embossing on metal by stamping the back and using a stylus to dry emboss. This time I wanted to use metal again, but with heat embossing...so gather a few supplies:
You'll need some metal sheets like these from Spellbinders, a Versamark pad, some embossing powder, a heat tool, and a stamp...I really like dragonflies so I used this great set from Skipping Stones Design called Always Here. Ink up your stamp with Versamark and stamp on the metal:
Then trim around the image...it's super easy to cut the metal with an ordinary pair of craft scissors.
I also stamped the image onto this metal tag to use later:
Add the dragonfly to a card along with some ribbon, a little bling, heat emboss a sentiment, and you're done:
I love the filigree design on the wings. I used Sentiment Frames for the 'Congratulations', it's perfect for heat embossing!
You'll need some metal sheets like these from Spellbinders, a Versamark pad, some embossing powder, a heat tool, and a stamp...I really like dragonflies so I used this great set from Skipping Stones Design called Always Here. Ink up your stamp with Versamark and stamp on the metal:
Then trim around the image...it's super easy to cut the metal with an ordinary pair of craft scissors.
I also stamped the image onto this metal tag to use later:
Add the dragonfly to a card along with some ribbon, a little bling, heat emboss a sentiment, and you're done:
I love the filigree design on the wings. I used Sentiment Frames for the 'Congratulations', it's perfect for heat embossing!
Thursday, April 7, 2011
Tips and Tricks-Laughing Cow and Bunnies
Hi there ~ Barb's turn for Tips and Tricks Thursday. I love this new Laughing Cow Cheese as much as I love re-purposing the cute little container. My boys are worried I'm becoming a hoarder because I keep so many different containers with the ambition of re-purposing all of them! And... I couldn't resist spotlighting this cute set from Skipping Stones Design, Chocolate Volume #1, just in time for Easter (by 'just in time' I mean there's still time to order this set for Easter).
Here are the supplies you'll need:
Start off by peeling the label off the container, cutting a 4" circle from background paper, stamping the image and paper piecing the little bunnies.
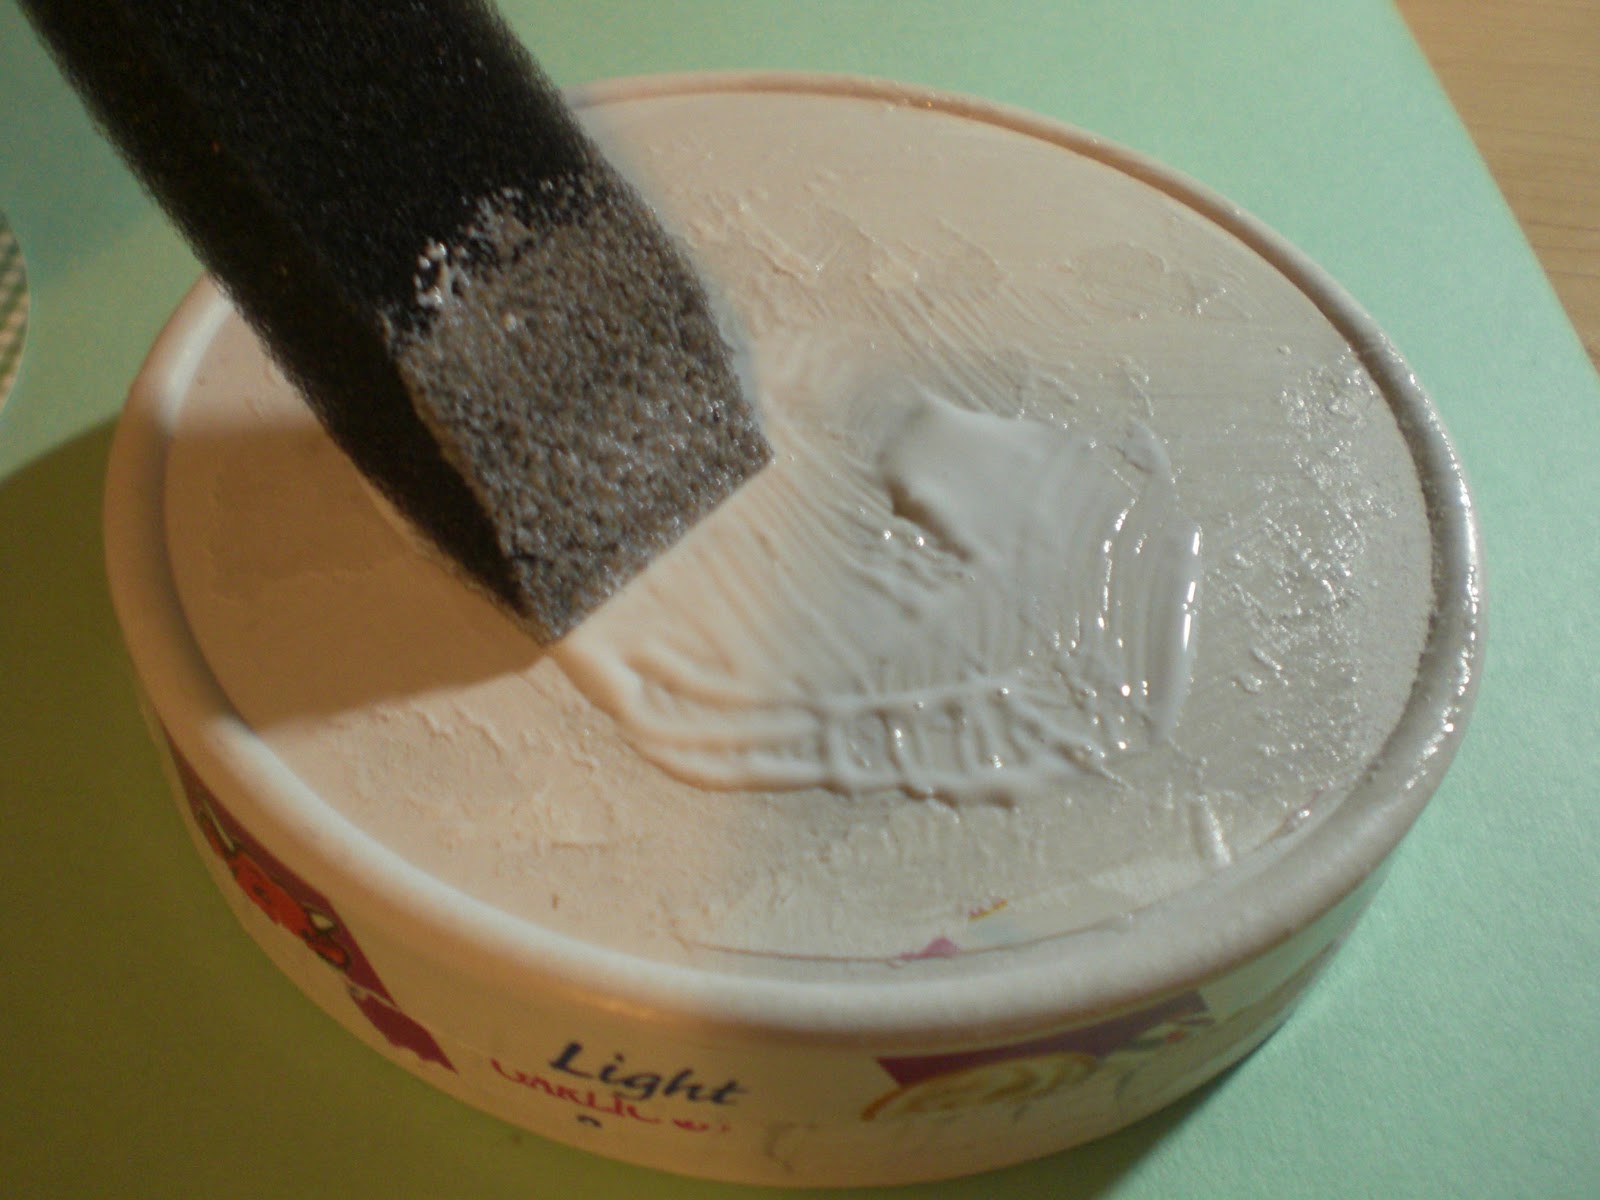
...then apply some Mod Podge to the top of the container (it acts like glue and a sealer)...
...apply the 4" circle, let dry a few minutes, apply the bunnies and another coat of Mod Podge...
...apply ribbon around the edge of the container (with Mod Podge)...allow to dry (if there are dark spots apply a coat of Mod Podge on top of the ribbon)...
...and finish it off with a few embellies...
...perfect size for candy or even a gift card!
Thanks for stopping by, now go find a container to re-purpose!
Subscribe to:
Posts (Atom)